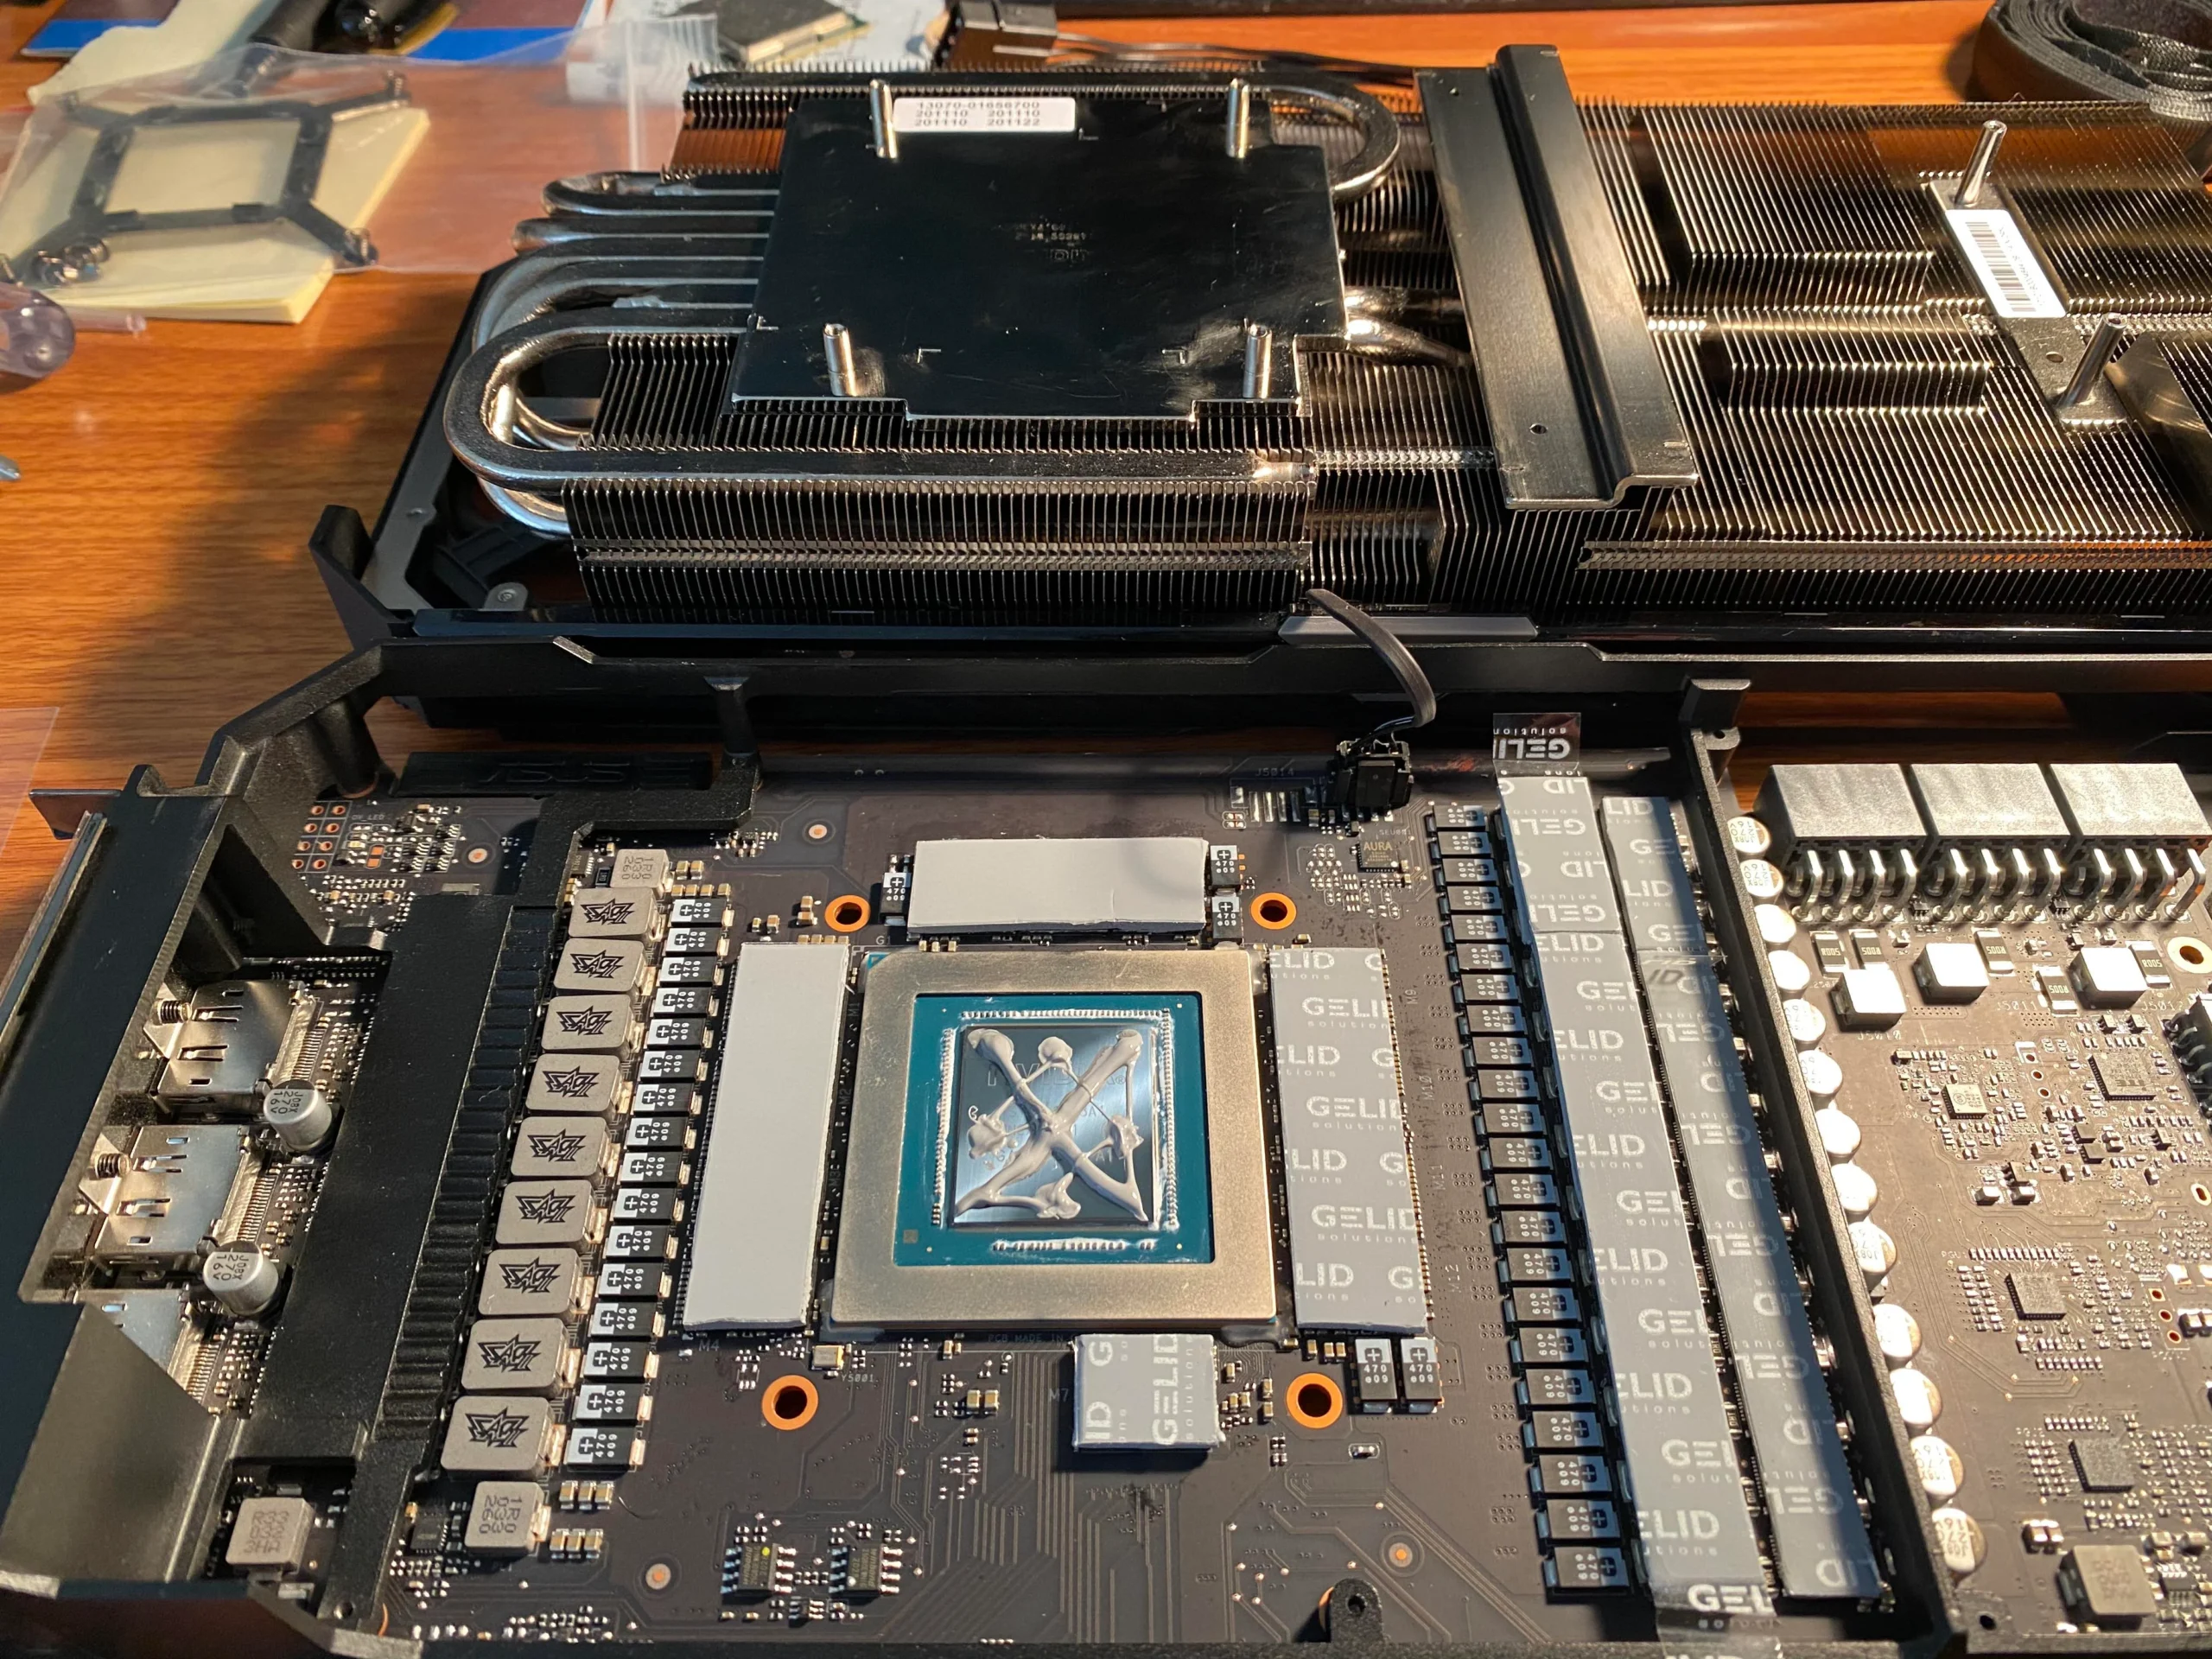
Materials and Tools Required:
Tools:
- Precision screwdriver set (with a 1.5x50mm bit or similar)
- Isopropyl alcohol (90% or higher)
- Cotton swabs or microfiber cloth
- Tweezers (optional, for precision handling)
Thermal Pads for One Card:
To replace the thermal pads on one ASUS ROG Strix GeForce RTX 3090, you will need:
- 1 x 0.5mm thermal pad (100 x 100mm)
- 1 x 1.0mm thermal pads (100 x 100mm)
- 2 x 2.0mm thermal pads (100 x 100mm)
- 1 x 2.5mm thermal pad (100 x 100mm)
Note: For the GPU core, use thermal paste for the best thermal performance.
Step-by-Step Instructions:
Step 1: Preparing the Work Area and Removing the GPU
- Prepare your workspace: Ensure that you’re working in a clean, static-free environment. Use an anti-static wrist strap if available to protect the sensitive electronics.
- Power down and unplug your system. Remove the GPU from the PCIe slot by unscrewing the mounting screws and carefully disconnecting the power connectors.
- Disassemble the backplate:
- Lay the GPU on a soft, static-free surface.
- Use your precision screwdriver to remove the screws from the backplate. Track where each screw comes from, as their sizes may vary.
 Removing the backplate screws
 - Once all screws are removed, gently lift off the backplate, exposing the internal components.
Step 2: Disassembling the Heatsink and Identifying Thermal Pad Locations
- After removing the backplate, carefully unscrew the heatsink. Be mindful of the fan cables attached to the PCB (Printed Circuit Board). Gently disconnect them to avoid damage.
- Once the heatsink is removed, you’ll have access to the stock thermal pads. These will be replaced with new, higher-quality pads. Refer to the image below for the front side (GPU side) thermal pad placement:

ASUS Strix RTX 3090 Front side thermal pad locations - VRAM modules: Use 2.0mm thermal pads around the GPU core.
- MOSFETs/VRMs (Voltage Regulator Modules): Use 2.5mm thermal pads. It’s recommended to buy a direct 2.5mm pad for optimal contact.
- Other components: Use 1.0mm thermal pads on the smaller components as shown.
Step 3: Cleaning and Removing Old Thermal Pads
- Remove the old thermal pads:
- Peel off the stock thermal pads using tweezers or your fingers. Be careful not to damage any components, including the VRAM and MOSFETs.
- Clean the surfaces:
- Use isopropyl alcohol and a microfiber cloth or cotton swab to clean the surfaces of the VRAM modules, VRMs, and other components. This ensures that the new thermal pads will adhere properly.
Step 4: Applying the New Thermal Pads
- Cut the new thermal pads to match the sizes of the old ones. Ensure that the thicknesses are correct as per the following:
- 2.0mm thermal pads for the VRAM modules.
- 2.5mm thermal pads for the MOSFETs/VRMs (using a single 2.5mm pad rather than layering).
- 1.0mm thermal pads for smaller components as indicated.
- Apply the thermal pads:
- Carefully place the 2.0mm pads on the VRAM modules, ensuring that they fully cover each module.
- Apply the 2.5mm pads on the MOSFETs/VRMs for optimal contact with the heatsink.
- Place the 0.5mm and 1.0mm pads on the smaller components as shown in the diagram.


Step 5: Reapplying Thermal Paste to the GPU Core (Optional)
-
-
- Clean the GPU core: If the existing thermal paste is dry or worn, clean it off with isopropyl alcohol.
- Apply new thermal paste:
- Use a small pea-sized amount of thermal paste on the center of the GPU core.
-
Step 6: Reassembling the GPU
- Reattach the heatsink: Once all thermal pads and thermal paste are applied, place the heatsink back onto the GPU. Ensure all thermal pads are making proper contact with the components.
- Reconnect the fan cables: Ensure the fan cables are reconnected to the PCB before fully screwing the heatsink in place.
- Reattach the backplate:
- Use the screws you set aside earlier to reattach the backplate. Be sure to tighten the screws without overtightening.
Step 7: Testing the GPU
- Reinstall the GPU: Slot the GPU back into your system’s PCIe slot and reconnect the power cables.
- Monitor temperatures: Power on your system and use temperature monitoring software like HWMonitor, MSI Afterburner, or GPU-Z. Monitor the temperatures of both the VRAM and GPU core under load. You should notice improved temperatures, especially during gaming or mining.
Here is a video that might help you:
Conclusion:
By following this guide, you will have successfully replaced the thermal pads on your ASUS ROG Strix GeForce RTX 3090, improving its cooling performance and extending the lifespan of the card. Using the correct thermal pad thicknesses, especially opting for direct 2.5mm pads for MOSFETs/VRMs, ensures optimal contact and heat dissipation without the need for layering.
Regular maintenance like this will keep your GPU running efficiently and reduce the risk of overheating during intensive workloads.
